Close
Close

Neoperl global

Choose language

Choose country website

Neoperl global

Choose language

Choose country website

Close
Close
Products_CascadeM24 with key

Replacing a faucet aerator

Scroll to explore
Home
Products
Faucet aerators
Replacing a faucet aerator
When replacing a faucet aerator, the most important thing to ascertain is which model you are dealing with. We differentiate between faucet aerators with housing, those with integrated thread, or models in special designs. It may be necessary to remove an existing aerator for cleaning, or to replace it with a new one – for example because the stream is no longer straight.
Products_Exchange areator
A suitable key loosens the faucet aerator so that you can then unscrew it by hand.

Replacing a faucet aerator with housing

How to replace a faucet aerator with housing:
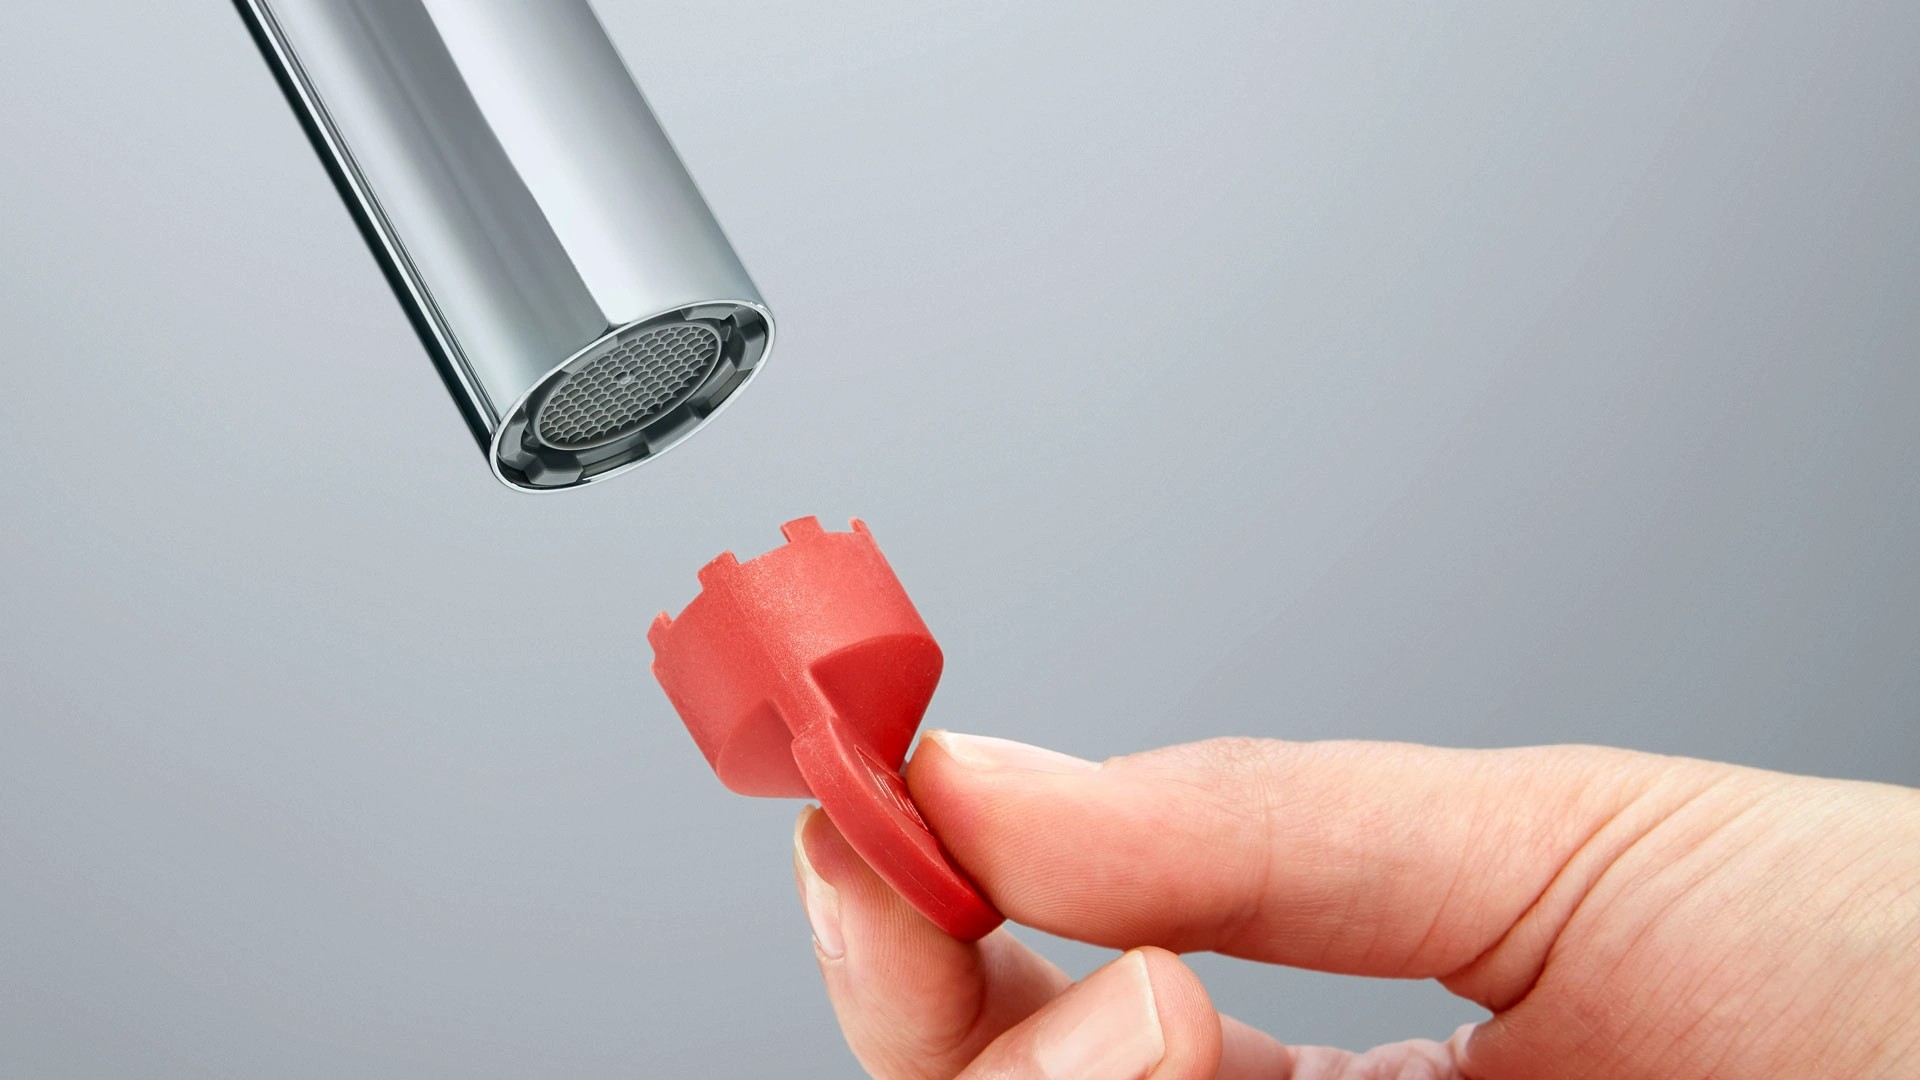
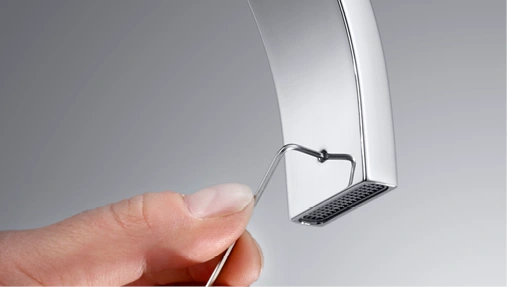
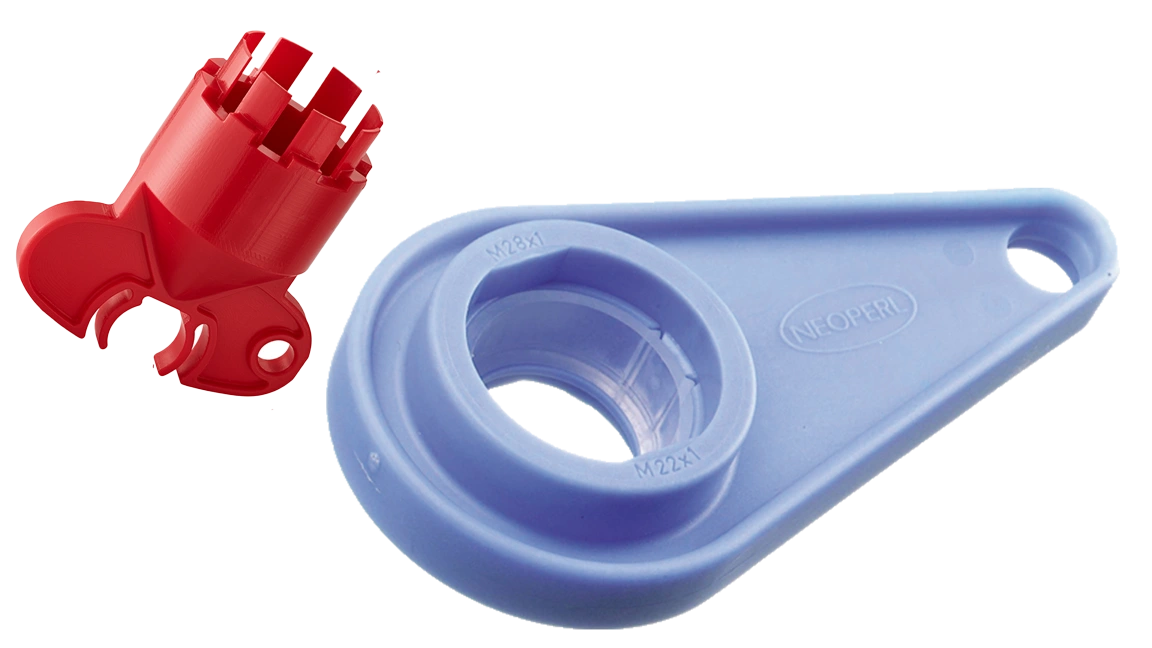
  1. Loosen the aerator with a suitable key, then you can unscrew it by hand. You can see which key fits under › Installation tools. Use a NEOPERL service key to avoid unsightly scratches on the chrome surface of your faucet. If a lot of limescale has built up on the aerator, it will take more effort to remove it.
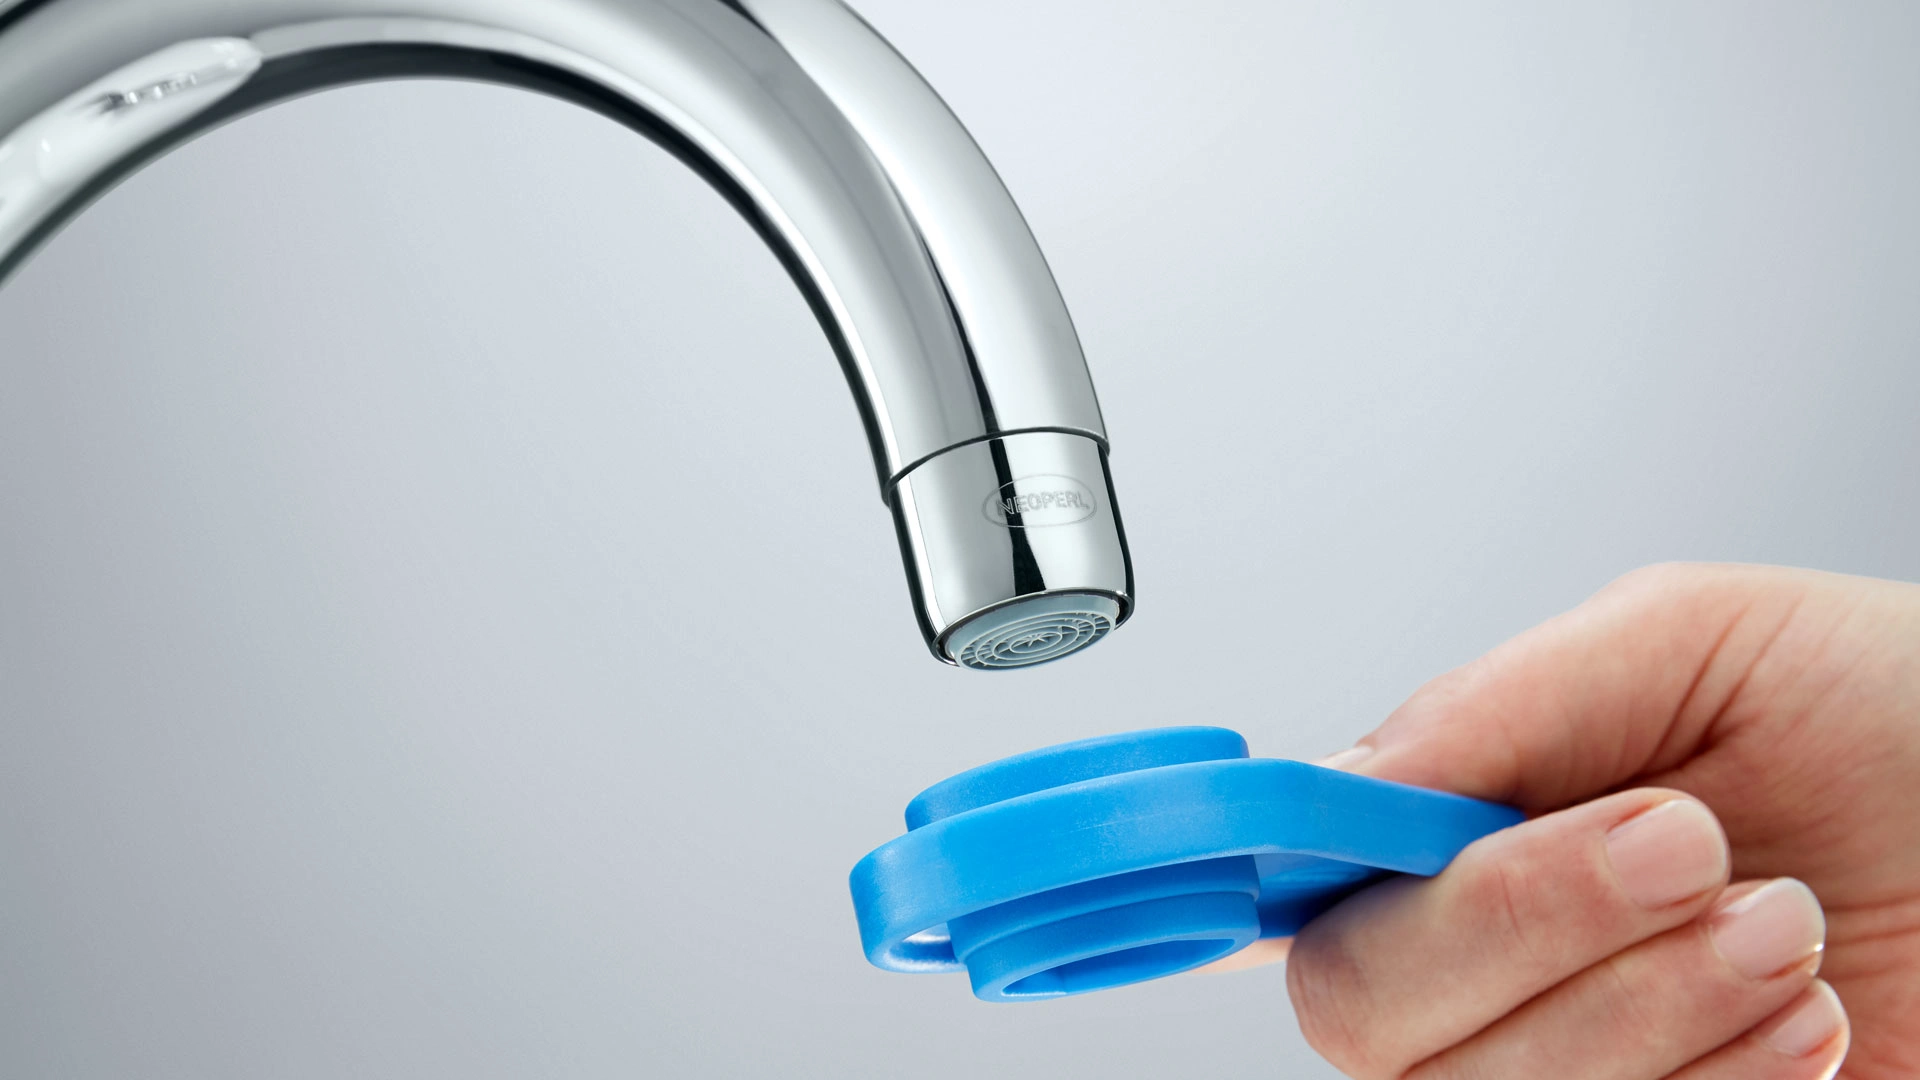
  2. To select the correct replacement aerator, note the type of thread – female or male – and the size of the aerator. Helpful hints for choosing the right size can be found under › Aerators with housing. If you only want to replace the insert and continue using the existing housing (the metal ring), remove the washer and the insert from the old housing. Place the new insert and washer in the existing housing. Please note: the washer often remains in the faucet during disassembly. If the washer is still in the faucet, carefully remove it and insert the new aerator.
  3. Use the NEOPERL service key to install the new aerator.
  4. Now open the faucet and check that the aerator is correctly installed. If water drips out between the faucet and the aerator, reinstall the aerator or tighten it more firmly with the key.
This video shows step by step how to replace a faucet aerator with housing.
Global_Exchange of a aerator with integrated thread
Use the NEOPERL service key to replace a faucet aerator with integrated thread.

Replacing a faucet aerator with integrated thread

  1. To replace a faucet aerator with integrated thread, be very careful to use the corresponding key. Our NEOPERL service keys have different colors, so it is easy to tell them apart. More information about our service keys can be found under › Installation tools.
  2. Position the key in the right place. To build up torque and prevent the teeth from breaking off, ensure that the indentations interlock. Then turn the faucet aerator to undo it. If a lot of limescale has built up on the aerator, remove as much of this as possible.
  3. When installing the new faucet aerator, ensure again that the key is correctly positioned so that the thread grips properly. Otherwise the plastic thread can easily be damaged. Screw the faucet aerator in very carefully so that you do not damage the o-ring or change its position. This could cause the faucet to leak. Moisten the aerator with a little water to facilitate installation. Please note: with › CACHÉ models, only screw the aerator in until it is flush with the faucet. Do not screw it all the way in, so as not to damage it.
With the coin slot versions of the faucet aerators, you can use a coin to assist with replacement. For more information, see › PERLATOR Coin Slot aerators.

Replacing a rectangular faucet aerator

NEOPERL rectangular faucet aerators with aerated stream can be replaced.
In order to replace a rectangular faucet aerator simply and easily, make sure you use the right key. › You can find detailed information here about the different keys Neoperl offers.
Models with a laminar flow cannot be removed without damage; you should therefore only replace them if they do not function correctly.
Step 1

Step 1

Undo the screw at the back of the faucet with a suitable Allen wrench.
Step 2

Step 2

Press the faucet aerator slightly inwards so that the service key can be inserted more easily.
Step 3

Step 3

Attach the service key very carefully, otherwise the aerator or the key could be damaged. The key must be either hooked or clicked into place.
Step 4

Step 4

Carefully draw the rectangular faucet aerator out of the faucet. To do so, pull the key diagonally forwards to release the aerator, and then pull the key downwards in the tilted position.
To reinstall the rectangular faucet aerator correctly, it is essential to follow these steps:
  1. Insert the aerator into the faucet. It is important to get it the right way round, because the aerator could also be installed rotated through 180°. Ensure that the grub screw located on the inside of the faucet lines up with the pre-drilled hole in the aerator.
  2. Secure the aerator with the grub screw.
  3. Also ensure that the non-removable o-ring is not damaged during installation. Moisten the aerator with a little water to facilitate installation.
Please note: the rectangular faucet aerator in size 24.5 x 9 mm does not require a grub screw and can be simply pushed into the spout.

You might also be interested in

Installation tools

Installation tools

Find out about our various service keys and which aerator models they fit.
Discover our range
Aerator identification via app

Aerator identification via app

Would you like to know which aerator model is in front of you? Then the NEOPERL EasyMatch App is just the thing for you.
Find out more
Faucet aerators

Faucet aerators

Here you can find out all about faucet aerators, their features and functions, and which standards and approvals they meet.
Find out more
Product finder